
Setting up a crypto wallet takes less time than most people expect, but the choices you make during those first few minutes, which wallet type you pick, how you handle your seed phrase, and whether you send a test transaction, shape how safe your funds stay from that point forward.
What is a crypto wallet and how does it work?
A crypto wallet doesn’t actually store coins on your phone or computer. Instead, it stores the cryptographic keys you need to access assets that live on the blockchain, the permanent ledger where every transaction is recorded. In practice, your wallet is simply the interface that lets you read from and write to that ledger.
Two keys make this work. Your public key generates the wallet address other people use to send you funds, similar to a bank account number you can share freely. Your private key proves you own those funds and authorizes every outgoing transaction. Anyone who has your private key controls your crypto, which is why protecting it matters more than anything else in the setup process.
Behind both keys sits a seed phrase, sometimes called a recovery phrase. This is a sequence of 12 or 24 words (depending on the wallet) displayed in a specific order when you first create the wallet. It serves as the master backup: if your phone breaks, your laptop dies, or your hardware wallet gets lost, you can restore full access to your funds on a new device by entering those words in the right order. The wallet’s core job is to manage your keys, not store coins, and the seed phrase is the foundation of that entire system.
Types of crypto wallets
Crypto wallets fall into three main categories: custodial (hosted), self-custody software, and hardware wallets. Each one trades off convenience against control and security in a different way, and the right choice depends on what you plan to do, whether that’s buying and trading, sending transfers throughout the week, or holding crypto untouched for months.
Custodial (hosted) wallets
A custodial wallet means a third party holds and manages your private keys on your behalf, much like a bank holding your cash. You create an account with a username, password, and optional two-factor authentication, and the provider takes care of key storage behind the scenes. Setup takes roughly 5 to 10 minutes and costs nothing upfront.
The biggest advantage here is simplicity. If you forget your password, the provider can reset it because they control the keys. You don’t need to manage a seed phrase yourself, which removes one of the steepest learning curves for newcomers. Buying, selling, and withdrawing crypto all happen inside a single account.
The trade-off is that you don’t fully control your funds. The provider can restrict access, freeze withdrawals, or get breached, and any of those events can put your balance at risk. Identity verification is typically required when buying crypto through a regulated provider in the U.S., since U.S. tax law treats digital assets as property and FinCEN distinguishes between hosted and unhosted wallets.
Custodial wallets are best suited for first-time buyers who want a fast path to purchasing crypto and aren’t ready to take on seed-phrase management yet.
Self-custody software wallets
Self-custody software wallets come as mobile apps, desktop programs, or browser extensions; our Trust Wallet review looks at one of the most popular mobile options. They put you in direct control of your private keys, and many of them don’t require personal information to set up, not even an email address. Setup runs roughly 5 to 15 minutes and is free.
This type of wallet connects to dApps, DeFi protocols, NFT platforms, and multiple blockchain networks, which makes it the go-to choice for anyone who wants to interact with decentralized services. You approve transactions yourself, choose which networks to use, and manage your own access.
That control comes with real responsibility. If you lose your seed phrase, your access is gone permanently. No support team can recover it for you. And because the wallet runs on a device that’s connected to the internet, it’s still vulnerable to malware, phishing sites, and clipboard attacks that swap out pasted addresses. Self-custody software wallets fit users who want full control, use crypto regularly, or need direct access to decentralized platforms; if you’re torn between two popular picks, start with MetaMask vs Trust Wallet.
Hardware (cold) wallets
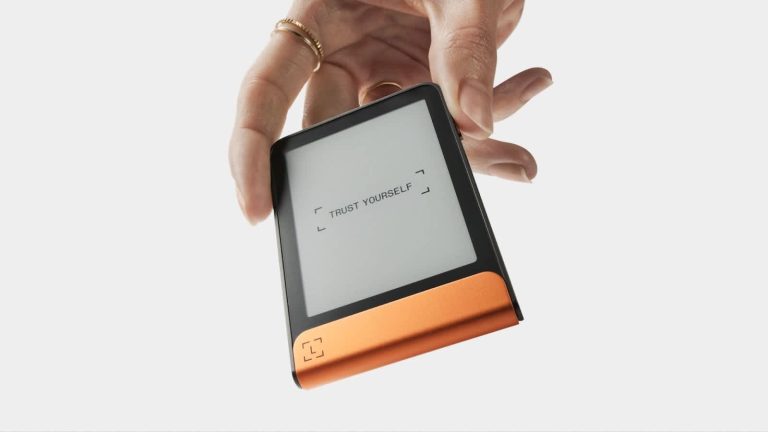
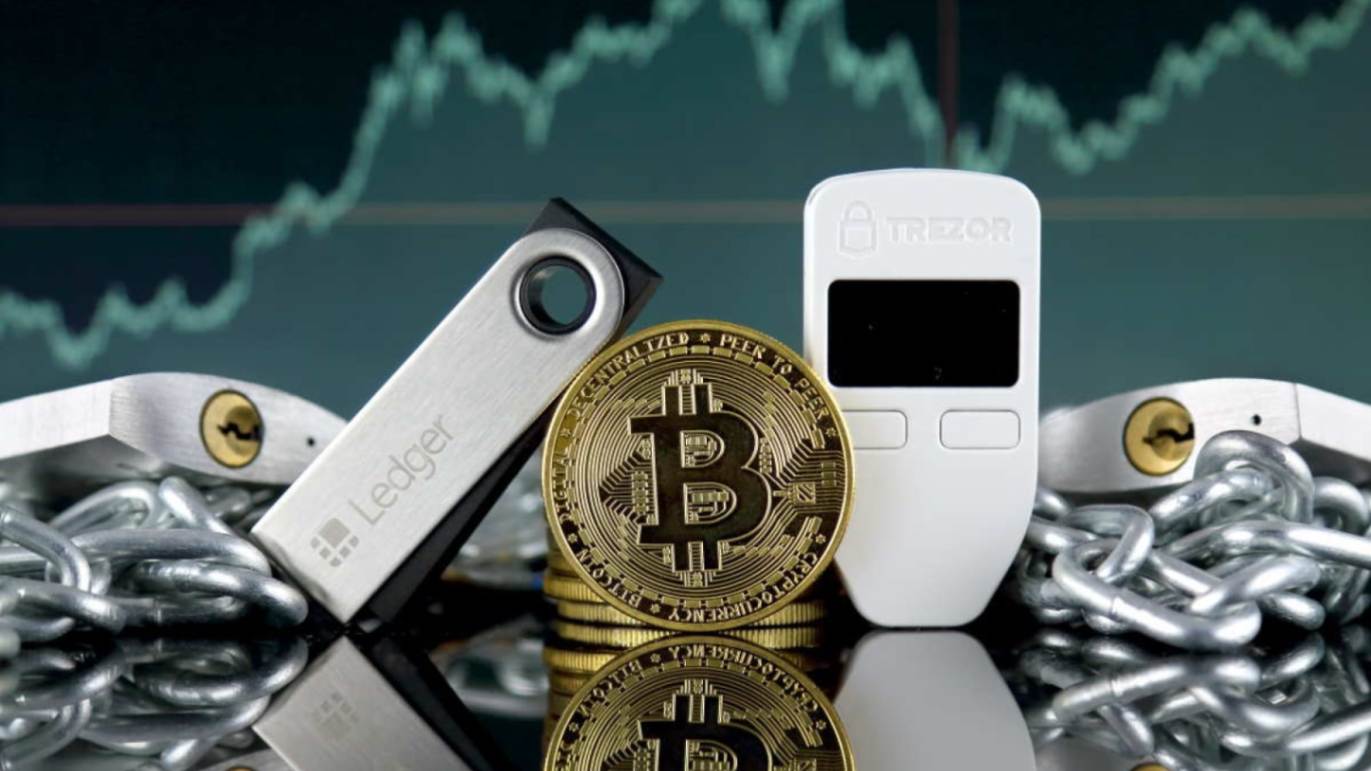
A hardware wallet is a physical device, roughly the size of a USB drive, that stores your private keys completely offline. When you sign a transaction, the signing happens on the device itself, which keeps your keys isolated from internet-connected computers. This design provides the highest resistance to remote hacking, malware, and clipboard attacks.
Hardware wallets require companion software installed from the manufacturer’s official site. You connect the device by USB cable or Bluetooth, manage your accounts through the companion app, and confirm every outgoing transaction by pressing physical buttons on the device. Setup takes roughly 20 to 45 minutes and costs between $50 and $250, with some models running up to $500; our Trezor vs Ledger comparison covers the two most common choices.
The drawback is convenience. Hardware wallets aren’t built for quick mobile use or frequent transactions. And if you lose the device without having your seed phrase backed up, your funds are gone. They’re best suited for large balances or holdings you plan to leave untouched for months or years.
Custodial vs. self-custody wallets compared
The differences between wallet types come down to who holds the keys, how recovery works, and what you can do with each one. This table puts the key factors side by side.
| Feature | Custodial | Self-custody software | Hardware |
|---|---|---|---|
| Key control | Provider (2/10) | User (9/10) | User (10/10) |
| KYC required | Almost always | No | No |
| Recovery method | Password reset | Seed phrase only | Seed phrase only |
| Trading convenience | Buy, sell, withdraw in one account | Often needs a separate exchange for fiat | Often needs a separate exchange for fiat |
| dApp access | Limited or none (3/10) | Direct connection (9/10) | Via companion software (7/10) |
| Long-term storage fit | Lowest (third-party risk) | Moderate | Highest |
The key-control and dApp-access ratings use a 10-point scale. Custodial wallets score lower for key control because the provider manages the private keys, but they offer the highest convenience for buying crypto with fiat. Self-custody software wallets provide greater control and direct dApp access, although they do not offer a password-reset safety net. Hardware wallets provide the strongest isolation for long-term storage, but accessing dApps typically requires an additional connection through companion software.
How to make a crypto wallet step by step
The full software wallet setup typically takes under 10 minutes. Here’s the process from download to a working wallet address.
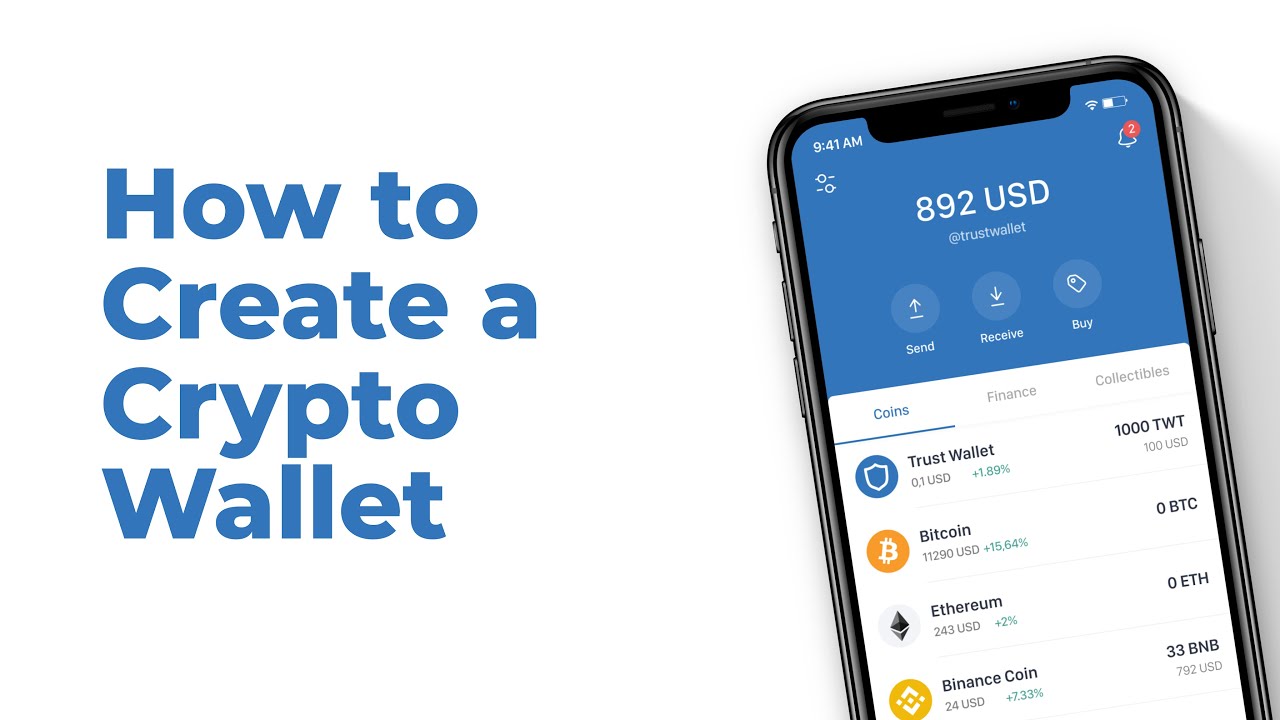
- Download the official app or prepare the hardware device. Go to the developer’s official website or a verified app-store listing. Check the publisher name carefully. Phishing websites may differ from the real domain by a single character, and downloading from a fake source can hand your seed phrase directly to an attacker.
- Open the app and select “Create a new wallet.” You’ll also see options like “Import” or “Restore,” but those are for entering an existing seed phrase. New users pick “Create.”
- Set a password or PIN and enable biometric lock. This local password protects the app on your device. It’s separate from your seed phrase and can’t recover your wallet on its own. Think of it as the lock on the front door, while the seed phrase is the deed to the house.
- Write down the seed phrase by hand. The app will display 12 or 24 random words in a specific order. Write them on paper, exactly as shown. Never screenshot them, paste them into a notes app, or store them anywhere digital. This phrase is the only way to restore your wallet if something happens to the device.
- Confirm the recovery phrase. The app will ask you to re-enter or reorder several of the words to verify you’ve recorded the backup correctly. This step catches errors before they become permanent.
- Set the network and review your wallet address. Check which blockchain networks the wallet supports and note the address for each one. Addresses differ by network, and sending funds to the wrong network can mean losing them (more on that below). Your wallet is now live with a public address and a zero balance.
How to set up a hardware wallet
Hardware wallets take a bit longer because of the physical device and companion software, but the process follows a clear path.
- Unbox and power on the device. Before you do anything else, check the packaging seals for signs of tampering. A device bought from an unauthorized reseller could arrive pre-loaded with a seed phrase the seller already knows, giving them access to any funds you add. Buy directly from the manufacturer or an authorized retailer.
- Download and install the companion app. Get it from the manufacturer’s official site. This software manages accounts, installs coin-specific apps, and handles firmware updates.
- Connect the device via USB cable or Bluetooth and select “Set up as new device.” The companion app will walk you through the initial configuration.
- Create a PIN code on the device using its physical buttons. A typical hardware wallet PIN is 4 to 8 digits. This PIN locks the device itself, so anyone who picks it up can’t use it without the code.
- Record the 24-word seed phrase. The device displays the words one at a time on its own screen. Write each word on the provided card in the exact order shown, double-checking spelling as you go. This is the only time the full phrase will be displayed.
- Install individual cryptocurrency apps inside the companion software. Each coin you want to manage, Bitcoin, Ethereum, stablecoins, needs its own small app installed on the hardware device through the companion software.
- Add accounts for each cryptocurrency. The software will display the corresponding public addresses. From this point on, every outgoing transaction requires physical confirmation on the device itself, which is what keeps your keys safe even if your computer is compromised.
How to fund your wallet and send a test transaction
Once your wallet is set up, funding it and confirming everything works correctly takes just a few steps. Sending a small test transfer first is one of the most practical habits you can build, because mistakes on the blockchain are usually permanent.
- Locate the “Receive” section and copy the wallet address. Before copying, confirm you’ve selected the correct network. A Bitcoin address and an Ethereum address look different and live on different blockchains. Sending Bitcoin to an Ethereum address, or choosing the wrong network variant for the same token, can result in funds being sent to a chain where you have no access. In most cases, cross-chain mistakes like this are irreversible because no central authority can reverse the transaction. Some networks have recovery tools, but they’re limited and not guaranteed.
- On the exchange or sending wallet, choose “Send” or “Withdraw.” Paste your wallet address and select the matching cryptocurrency and the same network you chose in step 1. The network must match on both the sending and receiving ends. This is where many beginners lose funds: the token name is right, but the network is wrong.
- Send a small test amount first. A transfer of $5 to $20 is enough to confirm the address and network are correct without putting much at risk. The network fee on this test transfer is a small price compared to losing a larger amount to an address or network mismatch.
- Wait for blockchain confirmation. Confirmation times vary by network and can take up to 30 minutes depending on congestion and the chain you’re using, as noted by Yahoo Finance. You may see a “pending” or “unconfirmed” label in your wallet until the network finalizes the transaction.
- Check the receiving wallet’s balance. Once the status changes from pending to confirmed, the funds are in your wallet.
- After successful receipt, send the main amount. Now that you’ve verified the path works, transfer the rest with confidence.
How to store your seed phrase safely
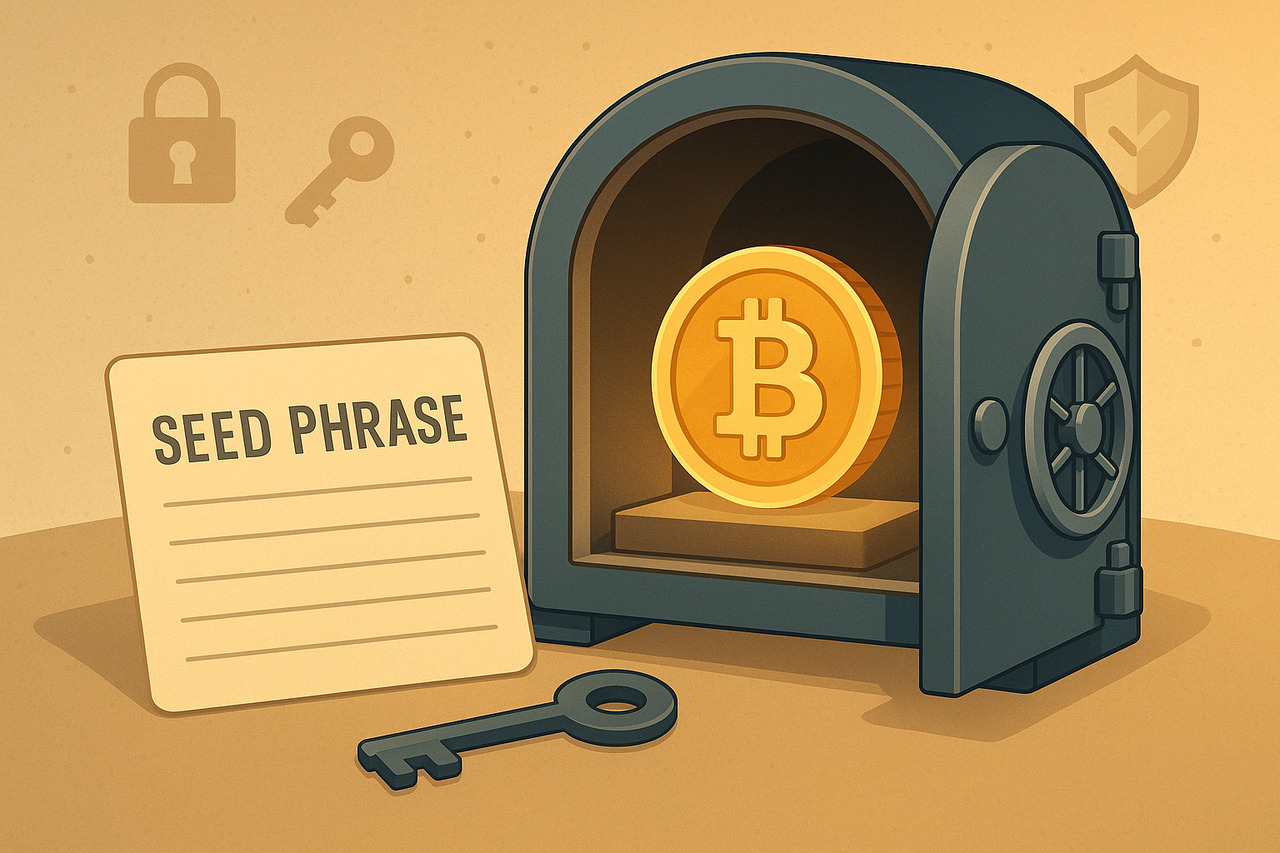
Your seed phrase is the single most sensitive piece of information in your entire crypto setup. Losing it means losing access permanently, and anyone who gets it can drain your wallet from anywhere in the world. Most seed-phrase theft doesn’t happen during the initial setup; it happens afterward, through fake restore prompts, phishing emails disguised as wallet support, and social engineering that asks users to “verify” their phrase.
- Write the words in exact order on paper and double-check the spelling of each one. A single wrong letter can make the phrase unusable.
- Store the paper in a dry, secure location away from electronics. A fireproof safe or lockbox works well.
- Keep a second copy in a physically separate location. If a fire, flood, or theft takes out one copy, the backup survives.
- Never screenshot, email, text, or paste the phrase into cloud storage, notes apps, or any digital file. Anything saved digitally can be accessed remotely.
- Never enter the phrase into any website, chat window, or support ticket. Legitimate wallet providers will never ask for it. Any prompt requesting your full seed phrase is a scam, no matter how official it looks.
- For long-term storage, consider a metal backup plate. These are steel or titanium plates where you stamp or engrave each word. They resist fire and water damage far better than paper.
Security settings to enable right away
A new wallet with default settings is more exposed than it needs to be. These changes take a few minutes and close the most common gaps.
- Enable two-factor authentication on any exchange account you use for purchasing. This adds a second verification step beyond your password, usually through an authenticator app.
- Turn on biometric unlock (fingerprint or face ID) for the wallet app. It’s faster than typing a password and harder for someone else to bypass.
- Keep the wallet app and your device’s operating system updated. Updates patch known vulnerabilities, and outdated software is one of the easiest entry points for attackers.
- Avoid accessing your wallet over public Wi-Fi. Unsecured networks make it easier for someone to intercept data between your device and the internet.
- Verify URLs before connecting your wallet to any dApp or website. Bookmark the real URL of any platform you use regularly, and type it manually rather than clicking links from emails or social media.
- Review and revoke unnecessary token-approval permissions periodically. When you interact with a dApp, you often grant it permission to move tokens on your behalf. Old approvals you’ve forgotten about can be exploited if that dApp is compromised.
- Use a unique password for the wallet. Never reuse a password from an exchange or any other account. A breach on one platform shouldn’t give someone access to another.
Open-source wallets offer an added layer of transparency because their code is publicly available for community review, making hidden vulnerabilities harder to maintain.
Can you create a crypto wallet without KYC or a bank account?
Yes, most self-custody wallets can be created without providing any identification, and many don’t even require an email address. You download the app, generate your keys, and you have a working wallet. That’s the wallet layer, and it’s separate from the purchase layer.
The purchase layer is where things change. Buying crypto with dollars through an exchange, payment processor, or on-ramp service in the U.S. almost always triggers KYC (know your customer) requirements. You’ll typically need to verify your identity with a government-issued ID before you can buy.
A bank account isn’t strictly required to own or receive crypto, either. Someone can send crypto to your wallet address without you having a bank account at all. You could receive payment for freelance work, a gift from a friend, or a transfer from another wallet you control. But buying crypto with fiat currency, whether dollars or another government-issued currency, typically requires a linked bank account, debit card, or credit card, which is where on-ramp services like the one in our MoonPay review come in.
In-app buy or swap features can add another layer of complexity. Some wallets include built-in purchasing through third-party providers, but these features may be subject to state-level restrictions. A swap that works for a user in Texas might not be available to someone in New York, even within the same app.
The short version: “no-KYC wallet” accurately describes creating and holding crypto. It doesn’t describe buying crypto with fiat.
Common beginner mistakes and how to avoid them
Most crypto losses among beginners aren’t caused by market drops. They’re caused by preventable setup and transfer errors. At AXL Research Hub, we see the same handful of mistakes come up repeatedly, so here they are in one place with what actually goes wrong and how to avoid it.
| Mistake | What happens | How to avoid it |
|---|---|---|
| Downloading a fake wallet app | The fake app captures your seed phrase, giving the attacker full access to drain your balance | Verify the exact domain and publisher name before downloading. Phishing sites may differ by a single character. |
| Skipping a test transaction | An error in the address or network goes unchecked, and a large transfer is lost | Send $5 to $20 first. Confirm it arrives before sending more. |
| Mixing up the blockchain network | Funds are sent to the wrong chain, and recovery is usually impossible. There’s no central authority to reverse it, and network-specific recovery tools are limited and unreliable. | Match the network on both the sending and receiving side. Don’t assume same token means same network. |
| Treating the app password as a seed phrase substitute | If the device is lost or the app is deleted, the password alone can’t restore access. Funds are locked permanently. | Understand that the app password protects the device; the seed phrase protects the wallet. Both matter, but only the seed phrase restores access. |
| Keeping all funds in a single wallet | One compromised wallet means total loss | Split funds between a daily-use wallet and a long-term storage wallet to limit exposure. |
| Connecting to unknown dApps or blindly approving token requests | Wallet-drainer contracts can empty your balance with a single approval | Only connect to platforms you’ve verified. Review every approval prompt before confirming. |
Which wallet type fits each scenario
Different goals call for different wallet types. This table matches common starting points to the wallet that fits best.
| Scenario | Recommended wallet type | Why | Upfront cost |
|---|---|---|---|
| First crypto purchase and learning | Custodial | Easy account setup, integrated payments, password recovery available | $0 |
| Daily transfers and frequent sending/receiving | Self-custody software | Fast mobile or desktop access with full self-custody | $0 |
| DeFi, staking, and dApp interaction | Self-custody software | Direct browser or mobile connection to dApps and protocols | $0 |
| Long-term cold storage of larger balances | Hardware | Offline signing keeps keys isolated from the internet | $50 to $250 |
| Split storage for both daily access and safety | Software + hardware combination | Use software for active transactions, hardware for long-term holding | $50 to $250 for the hardware portion |
You don’t have to pick one wallet and stick with it forever. Many people start with a custodial wallet to make their first purchase, then move funds to a self-custody wallet once they’re comfortable managing a seed phrase. As balances grow, adding a hardware wallet for long-term storage gives you an extra layer of protection without giving up the convenience of a software wallet for everyday use.
Can you have multiple crypto wallets?
There’s no limit on how many wallets you can hold, and using more than one is actually standard practice among experienced users. A common setup is one wallet for spending and daily transactions, another for DeFi activity, and a third, typically a hardware wallet, for long-term storage.
The logic is straightforward: if any single wallet is compromised, the damage is contained to what’s in that wallet. Your long-term holdings stay untouched in cold storage once you’ve finished moving crypto to cold storage, and your DeFi wallet’s exposure is limited to whatever you’ve allocated for that purpose.
Different wallet types work well together. You might buy crypto on a custodial platform where KYC and fiat on-ramps are built in, then withdraw to a self-custody software wallet for active use, and periodically sweep larger amounts into a hardware wallet for safekeeping. Each wallet has its own keys, its own seed phrase, and its own address, so they operate independently.
Frequently asked questions
Is $100 enough to start with crypto?
Yes. You can begin with any amount, and many platforms accept purchases as low as $1. Starting with a smaller amount is a practical way to learn the process, test your wallet setup, and get comfortable with transfers before committing more.
Can I use one wallet for Bitcoin, Ethereum, and stablecoins?
Many multi-chain wallets support multiple assets within the same app, so you can hold Bitcoin, Ethereum, and various stablecoins in one place. That said, network compatibility varies by wallet. Some wallets support a wide range of blockchains, while others focus on a single network. Check which chains and tokens a wallet supports before creating it if you want to manage several assets from one interface.
Choosing a wallet and taking the first step
The right wallet type depends on what you’re doing with crypto. Custodial wallets give beginners the easiest on-ramp with built-in purchasing and password recovery. Self-custody software wallets hand you full control and direct access to DeFi and dApps. Hardware wallets isolate your keys offline for long-term holding.
If you’re still deciding which asset to hold first, understanding what Bitcoin is and how it differs from other tokens can help you choose the right wallet and network from the start. Regardless of which type you choose, security starts the moment you download. Verify the source, write down your seed phrase on paper and store it somewhere safe, and confirm everything works with a small test transaction before moving larger amounts. Your wallet setup isn’t truly complete until you’ve stored your recovery phrase securely in at least two separate locations and a test transfer has confirmed that both the address and network are working correctly.